DeLonghi DE650 Owner's Manual
Browse online or download Owner's Manual for Dehumidifiers DeLonghi DE650. DeLonghi DE650 Owner`s manual User Manual
- Page / 24
- Table of contents
- TROUBLESHOOTING
- BOOKMARKS
- Introduction and Warning 2
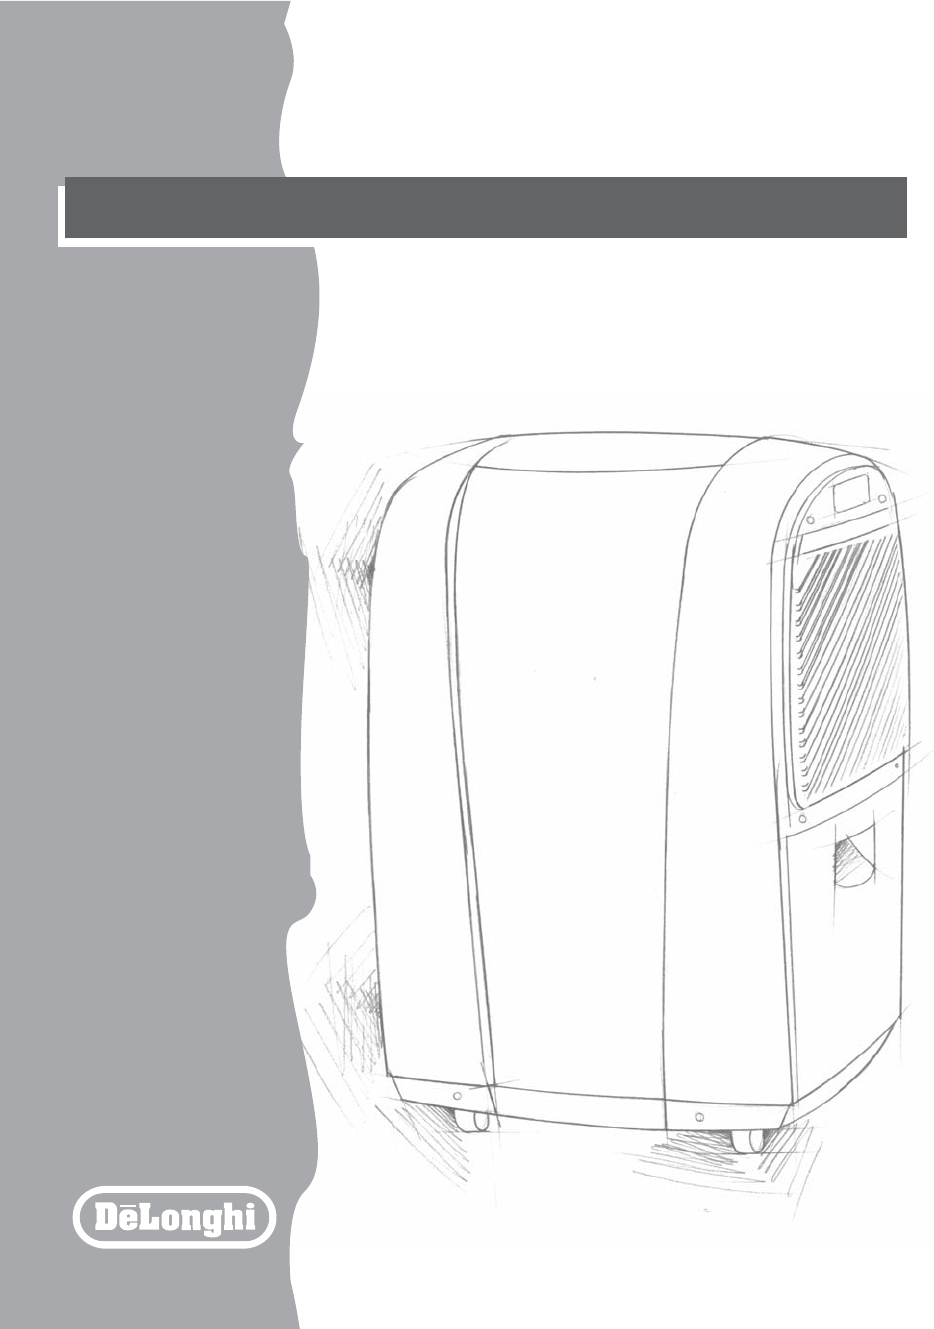
- Description of the appliance 3
- Control panel 4
- ON light 5
- TANK Warning light 5
- DEFROSTING light 5
- Installation Instructions 6
- Disposing of the collected 7
- Stand-by position 8
- How to use the FAN function 8
- Selecting the operations 9
- Care and Maintenance 10
- Troubleshooting tips 11
- Limited Warranty 12
- Précautions importantes 14
- Déscription de l’appareil 15
- Description des commandes 15
- Tableau de commande 16
- Voyant de dégivrage 17
- Voyant “ON” 17
- Voyant réservoir 17
- Installation 18
- Évacuation de l’eau de 19
- Stand-by 20
- Comment ventiler 20
- Turbo power 20
- Sélection des fonctions 21
- Entretien 22
- Filtre à air 22
- Problèmes et solutions 23
- Garantie limitée 24
Summary of Contents
DE300/DE300P/DE400/DE400P/DH400P/DE500/DE500P/DE650DE300/DE300P/DE400/DE400P/DH400P/DE500/DE500P/DE650• Use and maintenance manual . . . . . .pag. 3
WARNINGElectrical Shock HazardAlways disconnect power supply cord from outlet before performing any maintenance.Failure to follow the below precaution
12Troubleshooting tipsOften times, a problem is minor and a service call may not be necessary. Use this trouble-shooting guide to identify possible p
13ENGLISHThis warranty applies to all home appliances with De’Longhi or Kenwood brand names. FOR CONTIGUOUS UNITED STATES ONLYLimited WarrantyWe warra
DE300/DE300P/DE400/DE400P/DH400P/DE500/DE500P/DE650DE300/DE300P/DE400/DE400P/DH400P/DE500/DE500P/DE650• Use and maintenance manual . . . . . .pag. 3
14Félicitations ! Vous avez choisi un produit capable de satisfaire aux exigences de toute lafamille, à la maison ou au bureau. Ce manuel contient to
15FRANÇAIS1. Tableau de commande2. Carrosserie 3 Roulettes4. Filtre à air5. Réservoir récupération eau de con-densation6. Câble d’alimentation7. Racco
16Bouton STAND-BY Appuyez sur ce bouton pour allumer/ éteindre l’appareil. Pour éteindre complètementl’appareil, débrancher l’aappareil.Bouton tem
17FRANÇAISVoyant “ON”Lorsque le bouton STAND-BY est appuyé, le voyant “ON” s’allume. Le voyant s’éteintquand l’appareil s’arrête.NOTA: Après une cou
18Installation 1. Laissez au moins 30 cm (12 pouces) de chaque côté de l’appareil pour permettre unebonne circulation de l’air.2. Installez le déshum
19FRANÇAISA) Videz le réservoir manuellement. Quand le réservoir est plein, retirez-le et videz-le dans le lavabo ou dans la baignoire (fig.1).Après c
ENGLISH3Thank you for choosing this appliance. This Owner's Manual will provide you with valuableinformation necessary for the proper care and ma
20Stand-by Après avoir branché l’appareil, l’afficheur visualise à gauche le niveau d’humidité qu’ on dési-re atteindre (la valeur affichée automati
21FRANÇAISSélection des fonctions Comment programmer l’arrêt retardé avec appareil allumé2) Avec appareil allumé, appuyer sur le bouton et app
22ATTENTIONRisque de décharges électriquesAvant toute opération d’entretien, débranchez l’appareil.Le non-respect des précautions susmentionnées pourr
23FRANÇAISProblèmes et solutionsSouvent, les problèmes sont faciles à résoudre, sans appeler le service technique. Ce guidevous aidera à identifier le
24Cette garantie s’applique à tous les appareils ménagers de marques De’Longhi ou Kenwood.RÉSERVÉ UNIQUEMENT AUX ÉTATS-UNIS CONTIGUS ET LE CANADAGaran
41. Control panel2. Cabinet 3 Wheels4. Air Filter5. Water Tank6. Power Cord7. Continuous Draining Outlet8. Pump connection (only on somemodels)Descrip
5ENGLISHSTAND-BY button Press this button to start /stop the appliance. To turn the appliance completely off, remo-ve the plug from the outlet. Ro
6ON lightWhen the STAND-BY button is pressed to start the unit, the ON light will come on automati-cally. The light will go off again when the unit i
7ENGLISHInstallation Instructions1. Allow at least 12 inches (30cm) of space on all sides of the unit for good air circulation.2. Install your dehumi
A) Empty the tank manually.When the tank is full, remove (fig.1) andempty it into a sink.When finished, replace it properly.NOTE: The tank must be po
9ENGLISHStand-by positionOnce the power outlet is plugged in, the display will show on the left side the degree of humi-dity you want to reach (the d
10Selecting the operationsHow to Program the delayed stop function: From the ON Position1) Press the button and use the button to s
Related products and manuals for Dehumidifiers DeLonghi DE650
 (20 pages)
 (12 pages)
(12 pages)
(12 pages)
(12 pages)
(12 pages)

 (30 pages)
 (164 pages)
 (66 pages)
© 2020, manymanuals.com. All rights reserved. | 3.276 s |
 Manymanuals.com
 Manymanuals.de
 Manymanuals.fr
 Manymanuals.it
 Manymanuals.pl
 Manymanuals.cz
 Manymanuals.es
 Manymanuals-pt.com
Comments to this Manuals